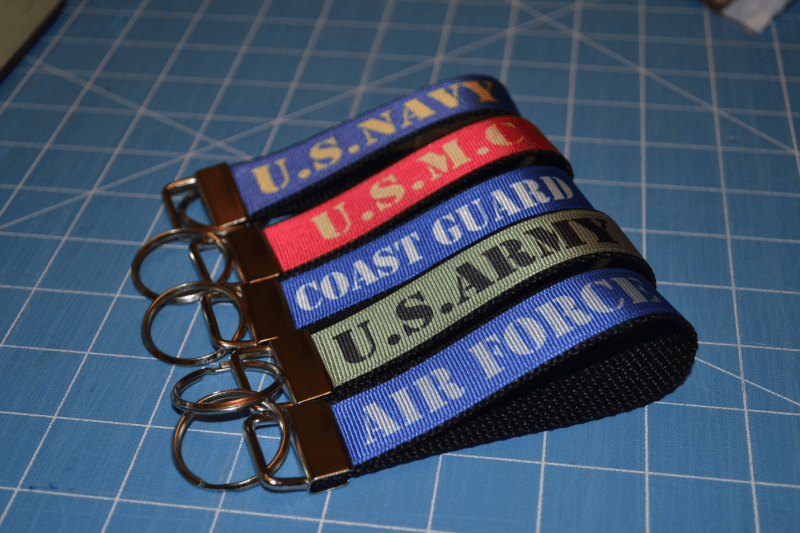
How to make Key Fobs
I will not claim to be a pro at this but I had to make a lot of them for a wholesale order and learned some tricks along the way. I hope that by sharing this, the process will become more clear.
This procedure is for a 1” wide 9” key fob. Meaning the finished strip is 9” long before it is doubled and clasped. I use Photoshop CS4 but there is nothing specific to PS in this procedure.
Supplies
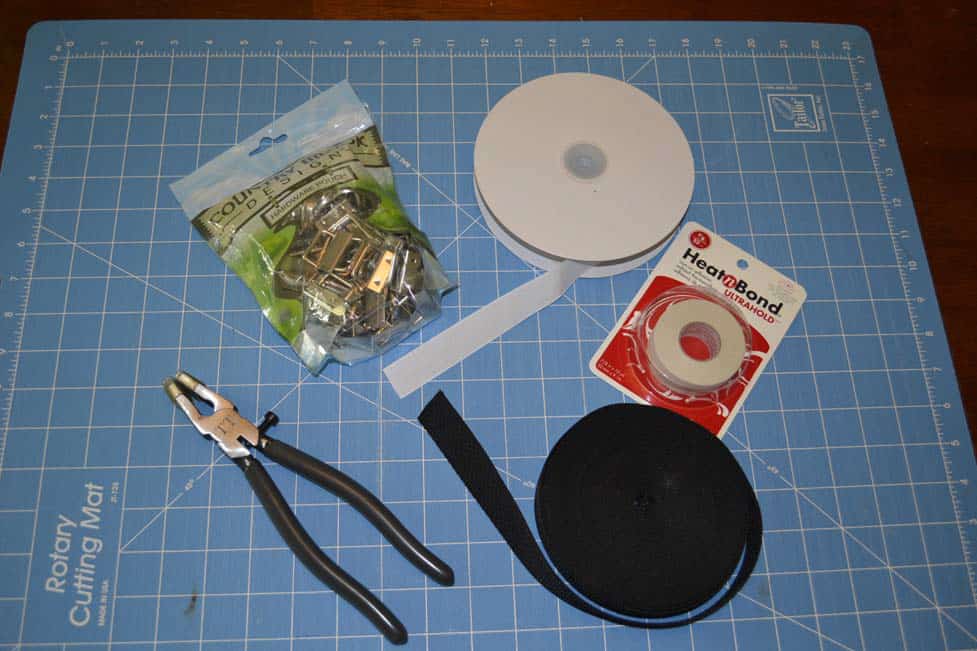
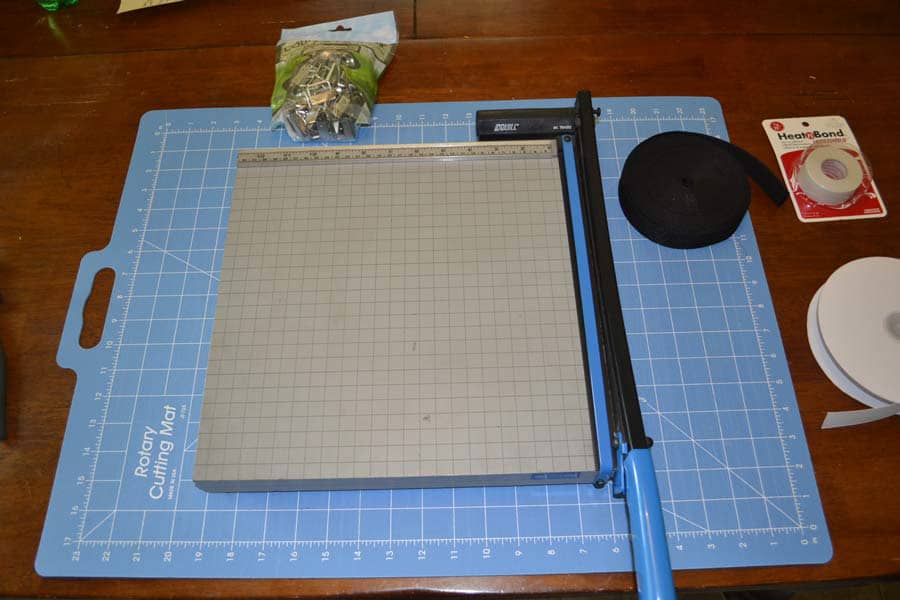
You will need the following:
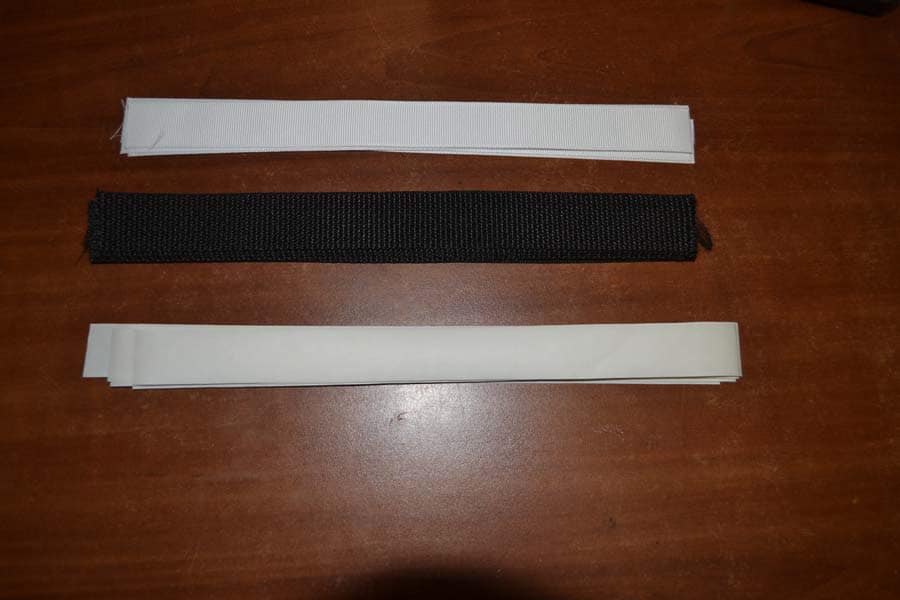
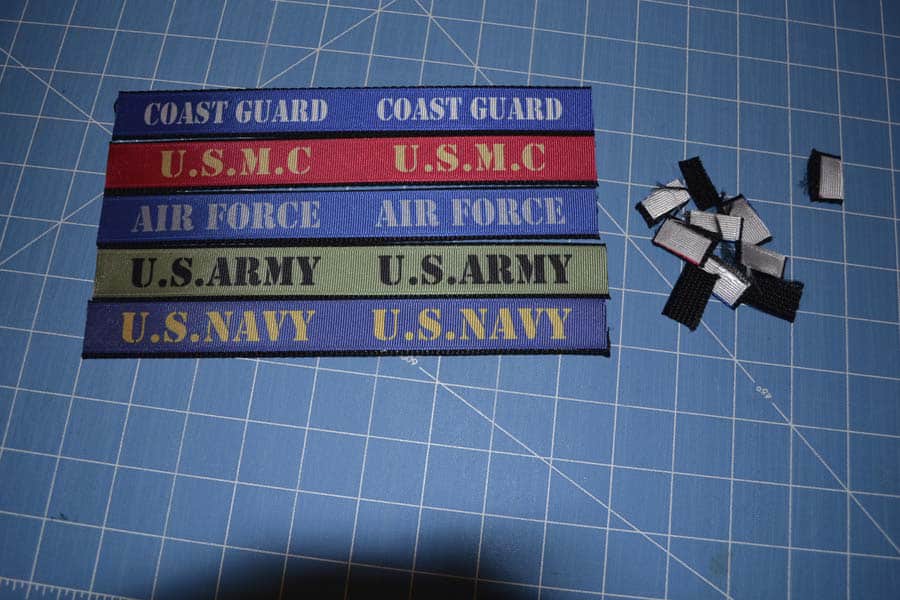
Plain white grosgrain 7/8” ribbon.
1” wide polypropylene or cotton webbing.
1” Key Fob Clasps. The ones pictured were purchased through Amazon.
7/8” Heat n Bond Ultrahold iron-on adhesive tape.
Pliers. The ones pictured are called running pliers. The head is 1” wide making it easier to crimp the entire clasp in one shot.
You will also need a method for cutting the ribbon, webbing and Heat n Bond tape.
Design Setup
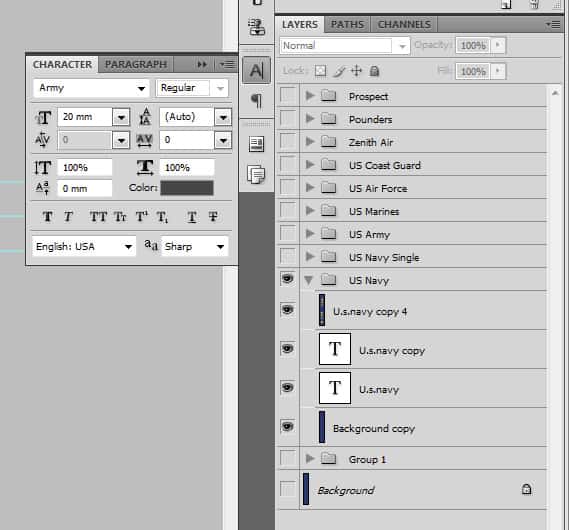
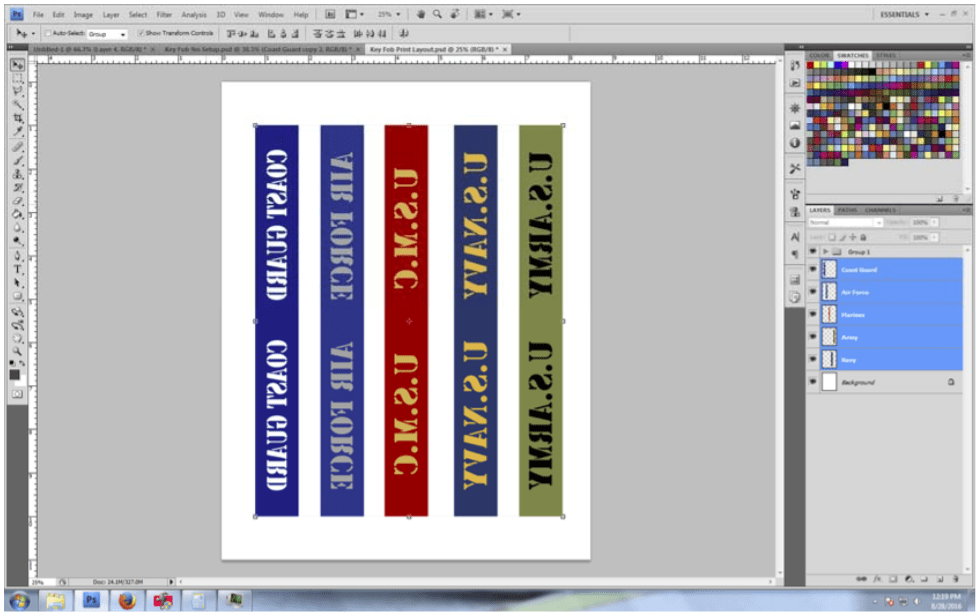
As with everything I do, I use two documents for sublimation. The first is the setup document and the second is the print document. To start I create a new document that is 1” x 9”. The ribbon is 7.8” wide, therefore, the 1” wide document provides for bleed along the edges of the ribbon. There is no bleed needed for the length so I set the length to the same as the finished strip.
I create my design in this setup document.

As you can see in the image, there are a lot of blue guidelines. Those guides are critical to making sure the image is where you want it in cases where there are words or other components that need to fall on one side or the other.
The vertical lines make sure that I stay within the edge that is on grosgrain ribbon.
There is a horizontal line indicating the exact middle of the design.
There are 2 horizontal lines approx 3/8” from the middle in both directions to account for the radius of the loop.
There are horizontal lines ½” from the top and bottom to account for where the clasp will go.
So as you can see, the text falls within my guide area.
If you look to the layers folder, you can see how I arrange the document layers. Each design is placed into its own folder. When I am happy with the design, I create a copy of all the layers for that design and merge them. This leaves the design layers intact in case I need to change something.
Once I am content with the design and have merged the design to one layer, I move to the print document. This document is set to the size of the paper I am using. In this case, it is 8.5” x 11”.
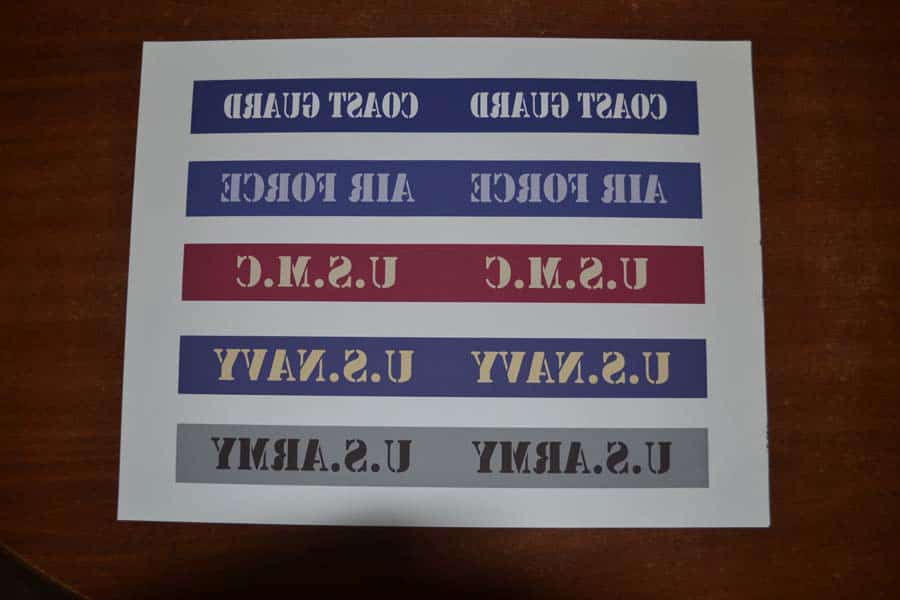
Paste all of the designs you wish to print into this document and arrange them as necessary.
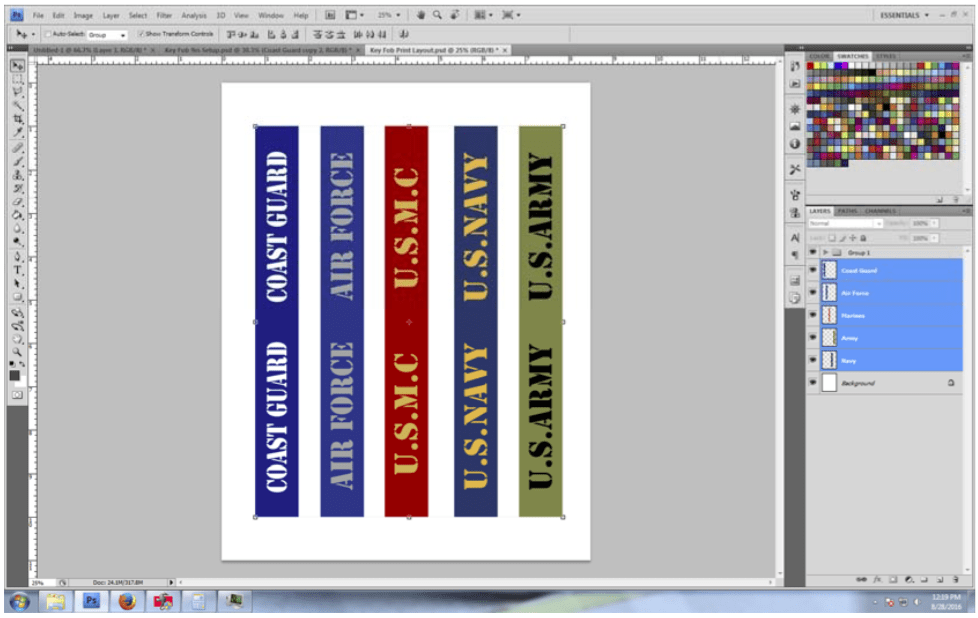
Flip them vertically.
And print.
Cutting and Prepping
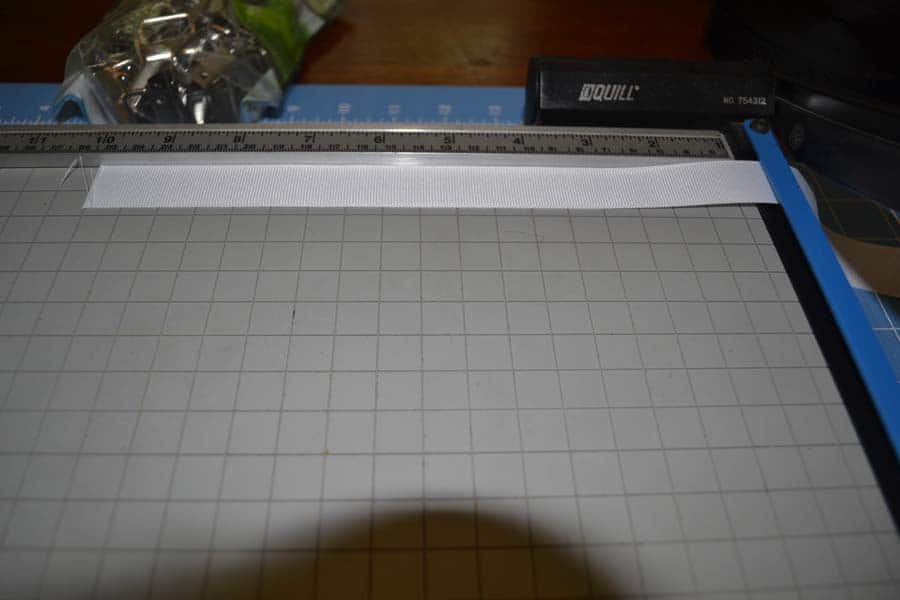
Cut the ribbon, webbing, and Heat n Bond 1” longer than the finished length. In this case, they are all cut to 10”. This makes each of the following steps much easier as you will see.
If you have access to a guillotine style paper cutter, it will make this part of the process so much easier. Otherwise, you will need to mark and cut each piece individually.
Sublimate the Ribbon
I use heat tape to attach the ribbon to the paper. This is one of those rare occasions when I think the adhesive spray might be useful. The extra one inch is to allow for full coverage without worrying about bleed. We will trim the ends later.
Heat tape does not easily come off of the ribbon without distorting the weave so it is better that the tape only is applied to the overhanging edges as shown.
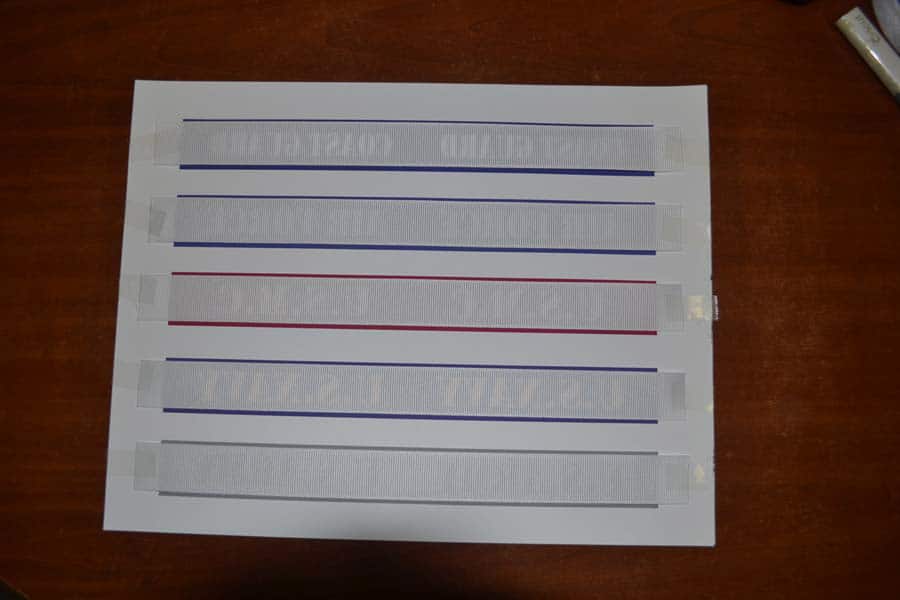
Press ribbon down/paper up at 400 degrees for 60 seconds (or whatever you’re setup requires) Make sure you use a cover sheet of either parchment or butcher paper.
Since I only tape at the ends of the ribbon, when I pull it off the press, I tear the paper in half down the middle. If you try to pull the ribbon while it is still hot, it will get distorted slightly making it harder to align to the webbing later.
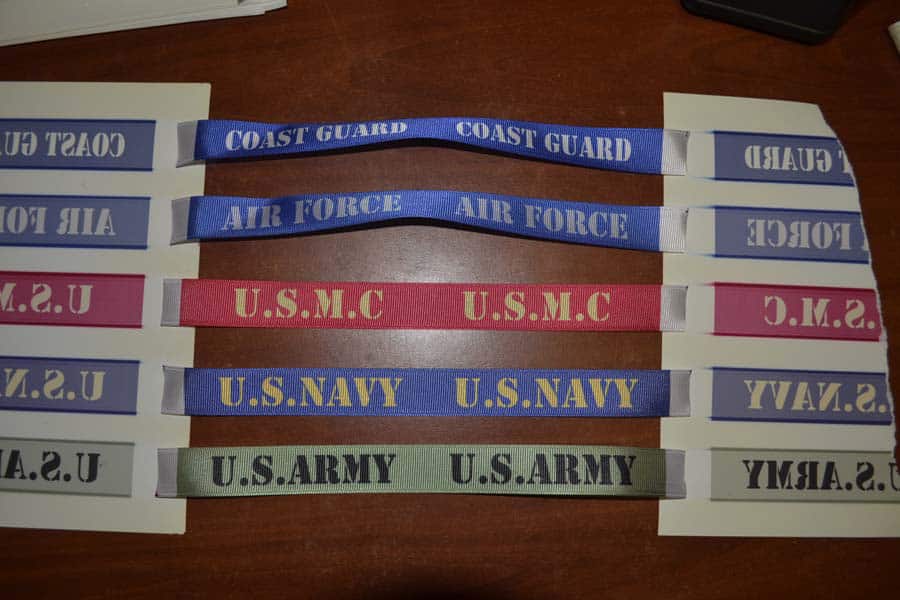
Once it is cool, remove the ribbon from the paper and remove all of the tape.
Once you are done pressing all of you ribbon, turn your press down to 265 degrees.
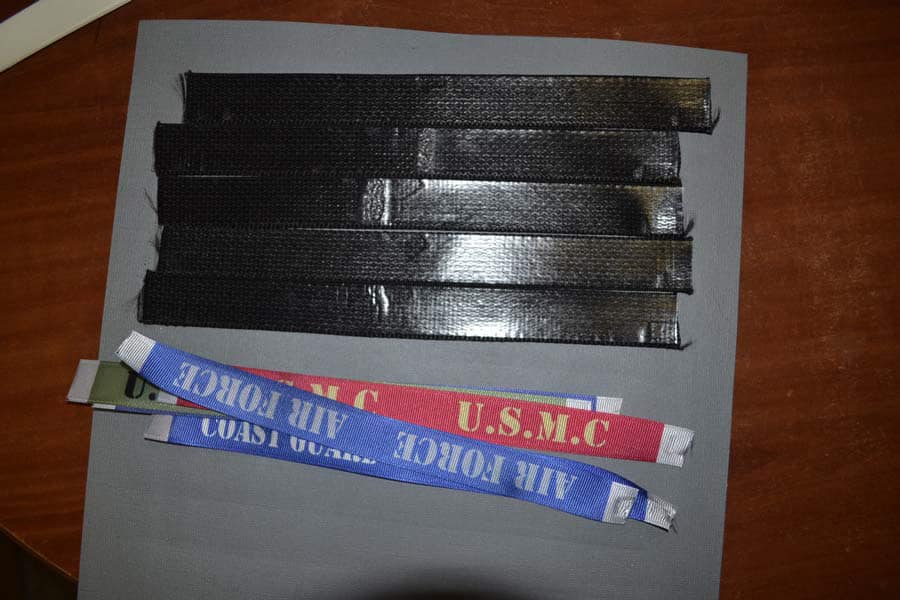
Applying the Heat n Bond to the Webbing
The Heat n Bond tape can be applied using a regular iron by following the directions but I figured why not use the press. If you are using polypropylene webbing, it will shrink slightly under the heat. If you find yours shrinking too much, turn the heat down on your press. I found that the webbing I purchased from Hobby Lobby shrinks much more than what I purchased on line.
I use a piece of Scrap book card stock to hold all of the webbing pieces down while I tape the Heat n Bond to it. Make sure to place the tape in a way that it holds the webbing in place as well as the Heat n Bond. I have found that one piece on each end and one on the opposite side in the middle effective in keeping the Heat n Bond in place during the press.
Press at 265 degrees for 10 seconds.
Pull the webbing out and set aside. Allow this to cool. As with the ribbon, if you pull the webbing off while hot, it will distort making it harder to align everything later. Also, if you pull the paper while it is too hot, you will pull some of the adhesive off of the webbing.
Once cool, pull the webbing off the card stock and remove the paper from the Heat n Bond.
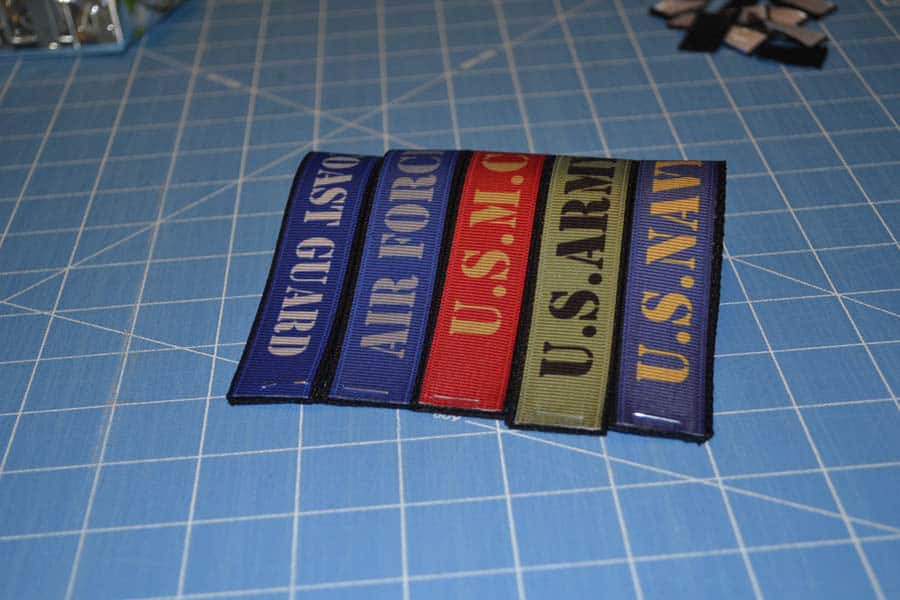
Putting the Ribbon and Webbing Together
For this step, I have also found it more convenient to tape it down to a piece of cardstock.
Lay a piece of the webbing, Heat n Bond side up, on the cardstock and lay a piece of the ribbon on top. Tape across both ends making sure that both the ribbon and the webbing are captured. This is once again where the extra length comes in handy.

Press at 265 degrees for 10 seconds.
Set aside to cool. I let these cool completely before handling. If you handle them too much while hot, they will deform and not make a nice finished loop.
Once cool pull them off of the card stock.
Putting it all Together
First, trim the ends even with the printed edge.
Use a lighter to go over all of the ends to prevent fraying. It just takes a second under the heat. You do not have to catch anything on fire. If there are long lose, ends, trim them before melting.
I found that trying to get the two ends lined up within the clasp and crimp it all in one move to be a bit of a pain and I was getting crooked ones so I came up with a different solution. I use a stapler designed to go through lots of paper to staple the ends together right at the edge. This makes it so much easier to put the ends in the clasp and crimp them.
If you are using a pair of regular pliers, wrap the ends in electrical tape, otherwise, you will scar the clasps. If you are using a pair of running pliers as shown in the supplies image above, keep the rubber caps on the end. There is also a quirk that you need to be aware of. The pliers are not flat across the width of the head.
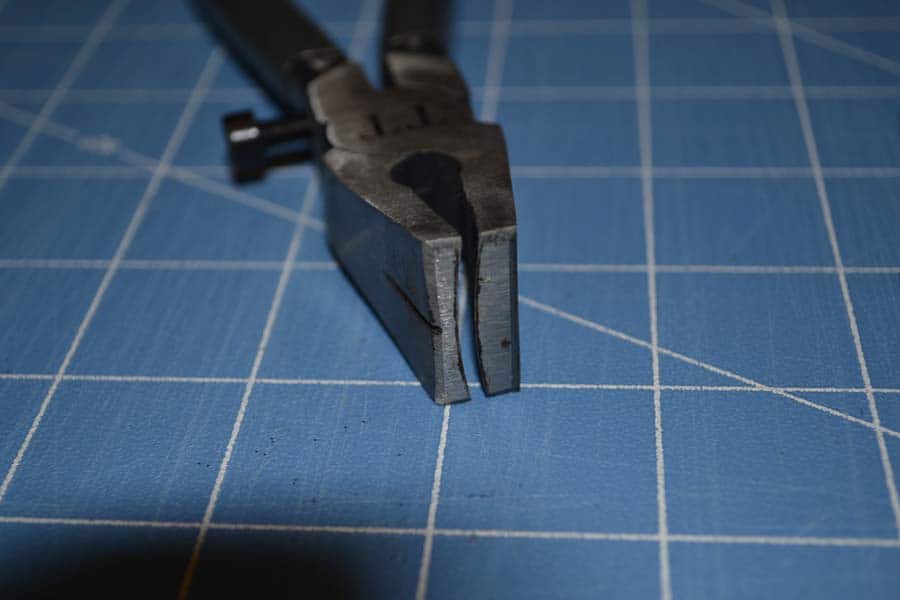
Because of this, it is important to put the clean face of the clasp towards the side with the bolt in the handle. This cause the indented side to be on the side of the clasp with the two teeth cut into it. It makes for a much cleaner finished product.
With the claps held by the pliers, insert the end of the ribbon/webbing piece and crimp firmly. If you do not crimp very firmly, the ribbon/webbing will pull out of the clasp.
Attach the key ring.

Done!!!
Full credit for this project goes to: Wade Sacca. Thank You!
Do you have a cool project you working on now? If you would like to share it with others, just give me a shout via contact form!

Why don’t you just sublimate directly on the webbing?
You can if its white and poly
Looks great. One question. What printer and paper combination did you use on this project?
Thanks, Eric
Hi Paul,
that was great. i was just wondering could you point me in the right direction on how to make lanyards, good quality and as cheap as possible. a customer has an enquiry for 500 of them and she is thinking of sorting them in China. i will pay you for your knowledge. You would have to tell me step by step. look forward to hearing from you. many thanks Aidan
Hi there,
For such a low quantity as 500 I would contract it out. there is enough companies that deal business to business and they will be happy to do this for you. you just add your margin.
regards