One of the very common question I am getting via email or Facebook is “how to insert a photo in to mug template”?
It sounds like an easy task to do, but if you never worked in photoshop before then this can be a tricky thing to find out. In reality, it is very easy to do once you know “how to”.
First, you will need your software. I presume you already have Adobe Photoshop as it’s one of the most popular software used for image editing and printing in sublimation business. If you don’t have it, you can find older version CS2 on the internet to download or go to www.adobe.com for trial. In this tutorial, I will use an older version, Adobe Photoshop CS4 but other versions will work exactly the same way.

Also check eBay here for cheaper software like adobe elements that is also excellent and will work the exactly same way as an advanced version of Photoshop when inserting photos to mug templates. No need to spend 100’s of £££ for the newest software. Older versions will perfectly do the job! So if you can find version 13 or older for good price, You can stay assured they will work just as well 🙂
Finding right mug template
Firstly, you will need to find a suitable mug template for your mug. Feel free to search my selection of mug templates here and download one that you like. Plenty of free choices there so I am sure you will find one that you like. Most popular sublimation mug size used by printers is 10oz and 11oz. So most of the mug templates are already in a good size of full wrap approx. 21cm x 9,5cm. If you need slightly bigger or smaller, they are easy to resize to the desired size.
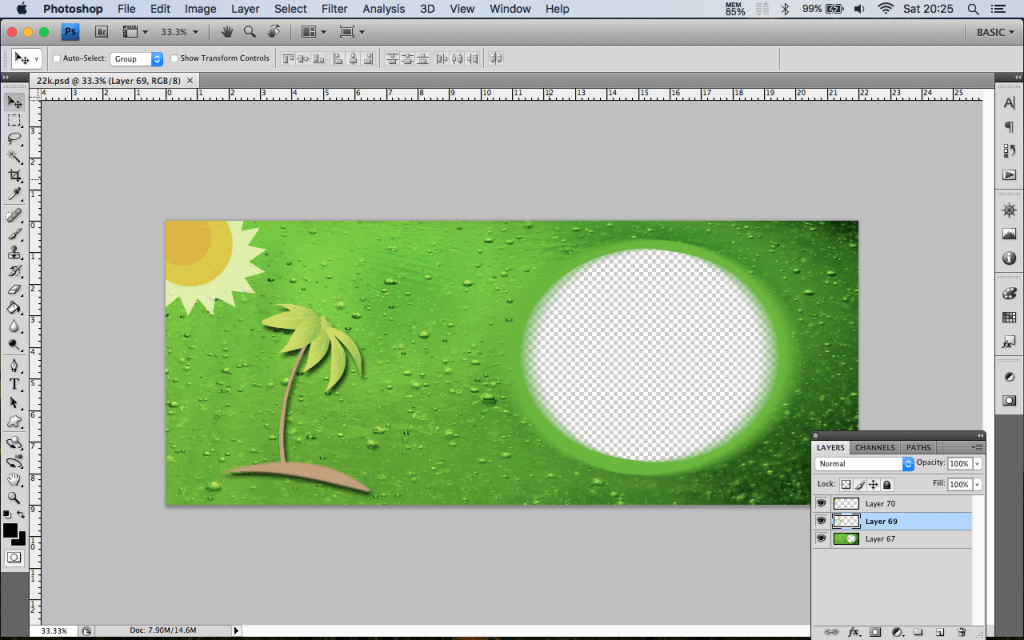
Open your template
If you found your perfect template you can open it now in Photoshop. Click file>open.

- Now open your image you would like to place inside mug template. file>open
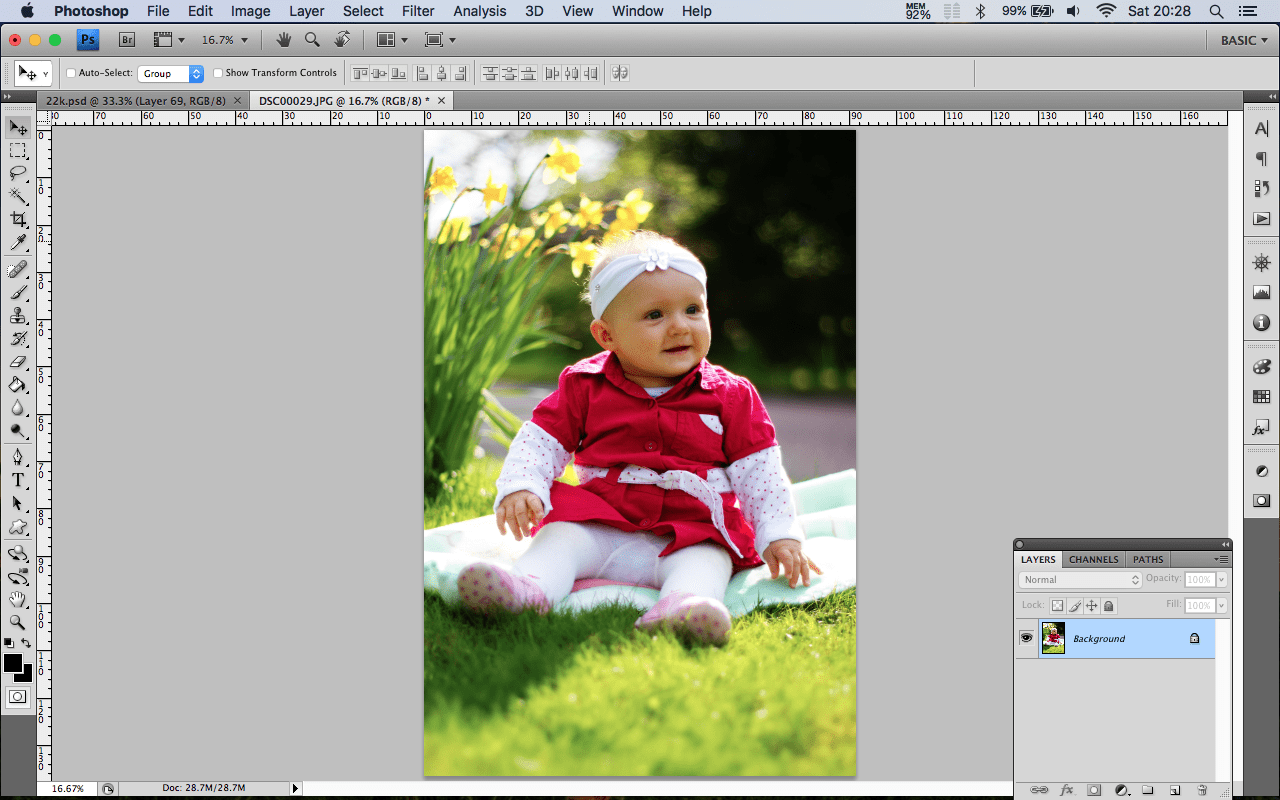
Now you have two files open.
- Your mug template
- Your photo
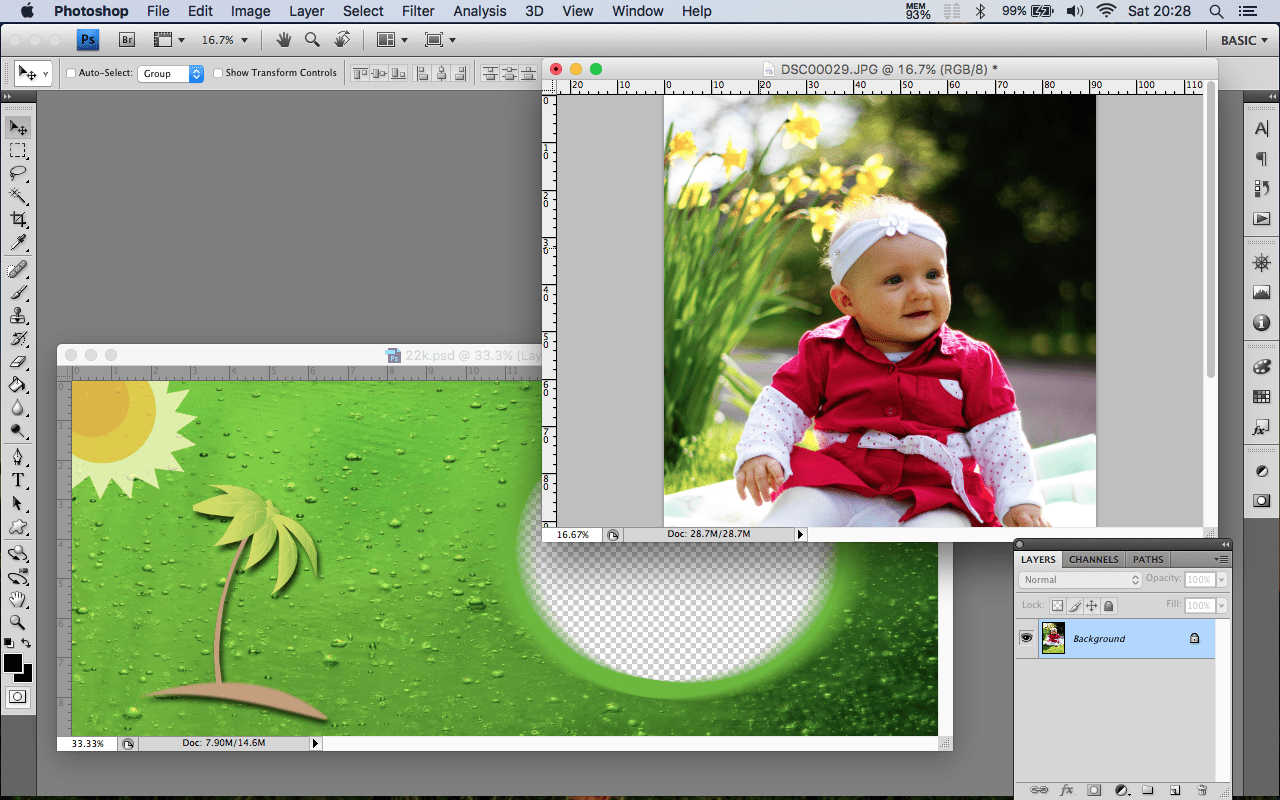

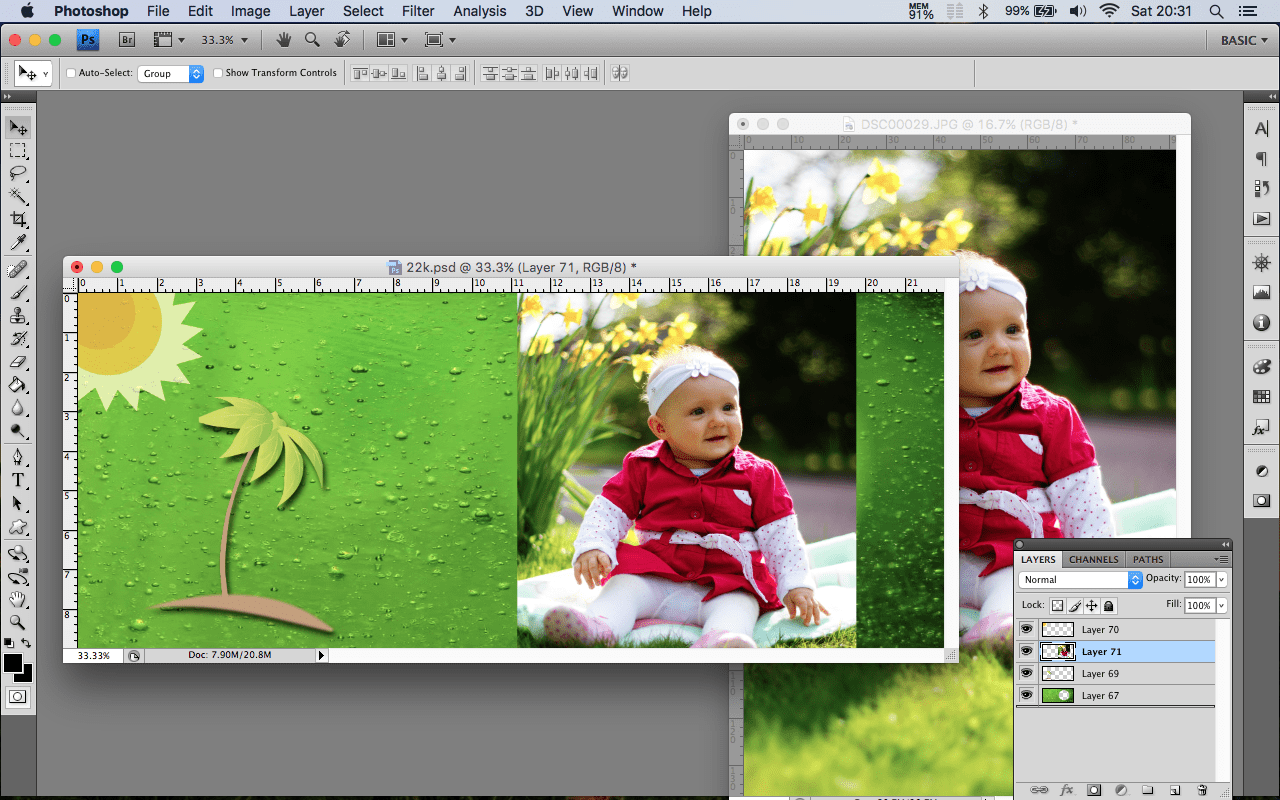
Now make sure you have MOVE TOOL selected or press “V” to activate
Once move tool is activated, Click and hold your mouse cursor on your image and slowly drag-drop on your mug template.
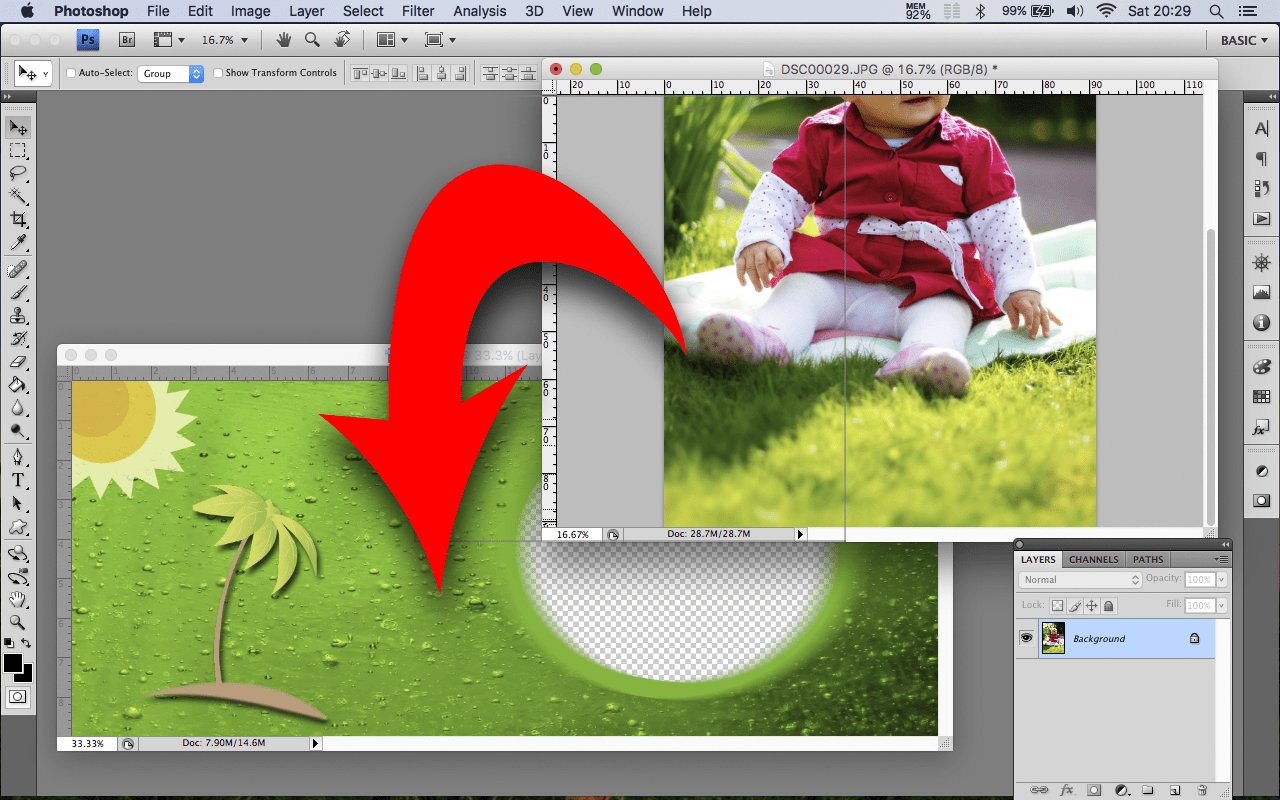
…it will like this…
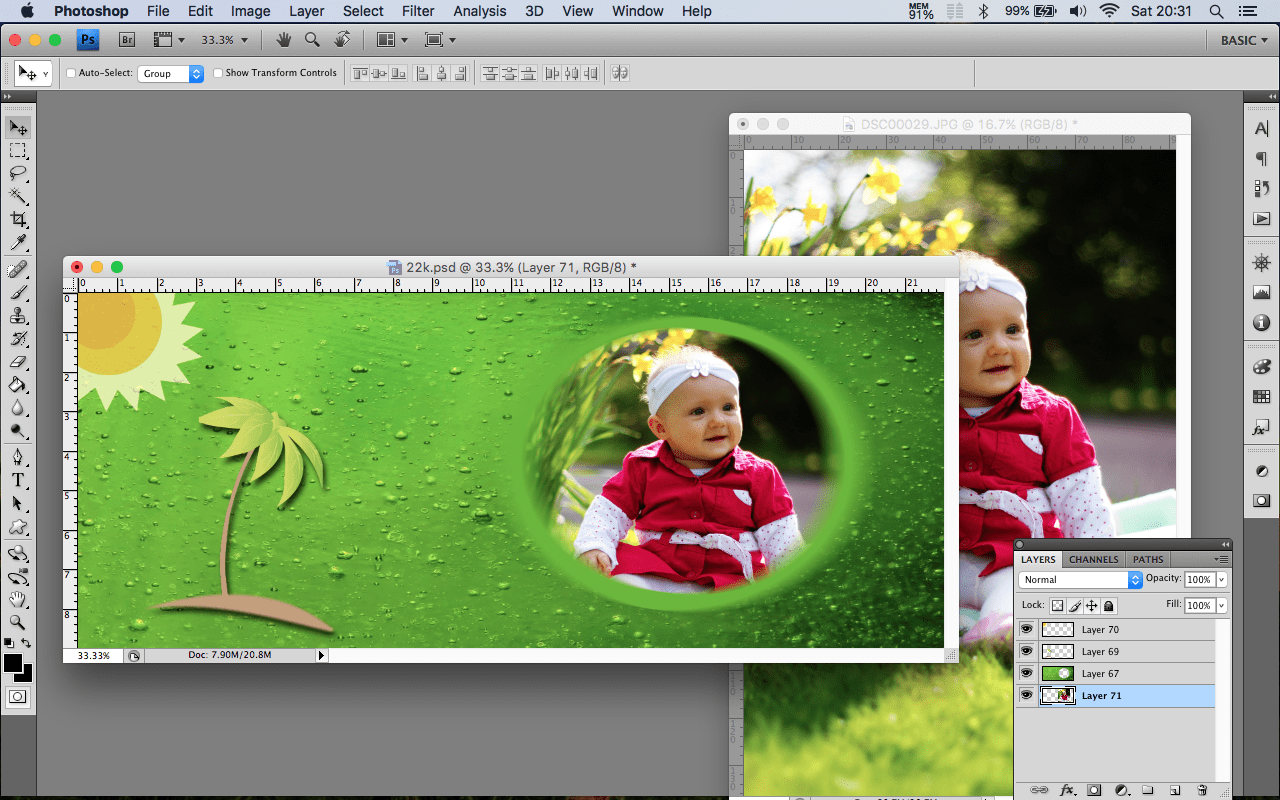
Now we need to perform the most important step. Once our image is on top of our mug template, we need to place it “inside” the frame.
To do this, you will need to locate your “image” layer In layer window that contains all elements.
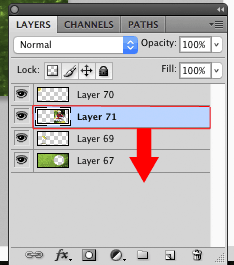
Now, click and hold on the layer with “image”, and drag’n’drop it right in the bottom so our image is the last layer. Done! your image is placed behind the frame in our mug template!
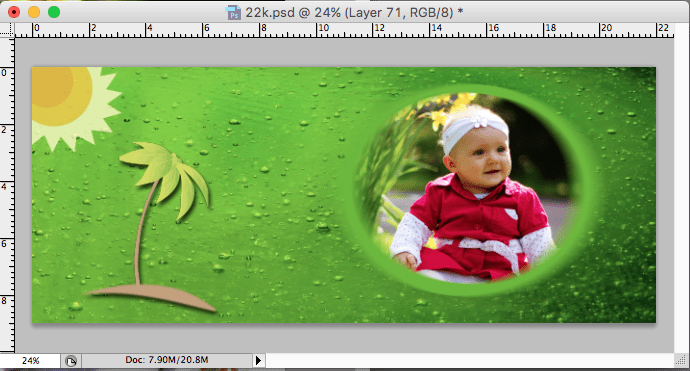
All you need to do now is press your mug and show off on your social media and get LOADS of new customers!

If you don’t want to press your mug, no problem! You can make fantastic mockup like this spinning mug above here. Learn how to present printed items with mockups here.


Hello Paul,
It’s been 2 days i’m having trouble with quality of pics. Like if i download the pic in HQ but i change the L&W according to my need to sublimate mug ,it has change into poor quality and ruin my whole hard work.
i’m so new in this adobe thing ,can’t tell where i went wrong.
Hi Sean. Do you resize image in photoshop? Or you paste it to template? If so, make sure your template is not 72dpi as this is screen resolution. Try always use 300dpi as your template.
Regards
Paul
Well I have just learnt a new way to do it.
Your way is so much simpler than the other way I have been doing it.
Thanks Paul 🙂
I am glad this helped you 😉
all the best!